Sunday, November 2, 2014

Brightening up my home

I've had "installing doors" on the to-do list for a LONG time. I forgot to take pictures of the old ones but there's an example of the dated and unattractive doors in this old post. Somewhere I probably have pictures of the door frames that were in horrible shape, but I couldn't find them so I'll explain one of the problems. At some point before I moved in, the screws for the hinges had stripped the wood in the frames. Instead of replacing or even repairing the frames, they flipped the door and screwed the hinges into different places in the same frames. You could see the damaged areas of the frames... plus the frames had a ton of coats of paint on them (the house is 60 years old after all). I've been living with upside-down doors since I moved into my house... until now.
Today, I finished installing the brighter, white doors upstairs. I did the small closet door on my own a while ago, but had help from my brother and neighbor securing the two bedroom and the bathroom doors. Some of the installation was trial and error (story of my home repairs!) so here's what I learned.

First, secure the door knob side of door at top with shims.
Secondly, nail in frame with 2 or 3 nails on each side making sure the frame lines up with the drywall.
Then, shim the hinge side of door making sure it's plumb.
Shim the door knob side of door.
Finally, check the door closure and adjust as needed.


I did some of these steps out of order with one of the installations and it took way longer than it should have. I saved myself a lot of time and frustration installing the last two doors this weekend because I had typed up those steps. It wasn't frustration-free though because I did bend a few nails and smashed my thumb once (I have a nice fever blister to prove it). I need to pay more attention when I'm hammering and take breaks when I get tired. In my defense, twice the nails got caught in knots in the wood so they were going to bend regardless of one's skill.
.
These doors look much better than the old ones and the bathroom even seems bigger with the white door. Next up, adding the casing. I was hoping to do that for some of the doors today, but am missing a tool that will make it much easier. Instead I filled in the nail holes with spackle and did a few other touch-up things. Guess I'll make another trip to a hardware store (story of my home repair life!) so I can add casing next weekend. If I'm super productive I may even paint everything a real white instead of just leaving them primed. I suspect that will be a project for a later weekend though.

Not that the doors aren't nice to look at, I'll leave you with these prettier flowers that I bought to brighten up my downstairs. Thanks for checking out my house progress after such a long delay between my posts! I have done more work in my yard and stained a lot of fence panels recently, but didn't have any big tips to share with those project.

Monday, July 28, 2014

Fixed with wood filler!

Wood filler smells horrible, but it fixed the problem! I was able to fill in the old location of the strike plate and it was really solid when it dried. In the left picture below you can see where I used the wood filler. When it was dry I sanded it down and used a little spackling paste to make it smooth (goes on pink and dries white in the middle picture). I let it all cure overnight and used my drill 1/2 inch boring bit to make the initial hole about an inch above the old spot and then used my dremel to make straighter edges for the strike plate. I also used my drill to pre-drill holes for the screws and voila! The door closes!
A fresh coat of paint and trim will complete this project. Huge thanks to Joanna for suggesting using wood filler based on her father's experience installing a new door.


Friday, July 25, 2014

Standard in 1952 is not standard in 2014

The exciting Friday night of a homeowner... Weedwhack the ridiculous grass and weeds that took over my backyard and begin installation of closet door. Don't be jealous.

I ordered new doors for my linen closet, bathroom, spare room, bedroom, and bedroom closet. All of the doors except for my bedroom closet needed new door frames. Since my house was built a long time ago when 2x3s were acceptable for framing walls, I had to special order them. They're camped out in my spare room for now.

Old strike plate...
 inconveniently painted over.
I thought... "Lucky me. There's at least one door that doesn't need a new frame!" So I only ordered a new door panel for my bedroom closet. Installing that door was something I could do without an extra pair of hands, so I decided to use my free night to start that project. I was making great progress chiseling the door frame for the new hinges and putting my new door knob in to get everything to line-up correctly before drilling the holes in the door for the hinges... but nothing ever goes as planned. The new doorknob latch doesn't line up with the location in the old door frame for the strike plate. It's about an inch higher and may overlap with the old hole, which is problematic.

In case you were wondering... walls are built with 2x4s now and door knobs are higher. I should have ordered this door with a frame too... but I didn't, so I'm going to brainstorm a new solution. Wish me luck!

Wednesday, July 2, 2014

Man Pride

I made a quick trip to the hardware store last weekend and as I was leaving I saw a guy about to load a huge box with a heavy grill into his truck. He was doing a good job maneuvering it from the flat-cart into the back of his truck, but it was awkwardly large so I offered to help... I know how an extra pair of hands just makes things easier. His response was, "I probably should take you up on that offer, but my man pride won't let me." A couple of adjustments later he was able to slide it right in. His comment made me laugh and reminded me of how my independent streak would have been inclined to respond in a similar way... and at times I have. Why do we make things harder for ourselves? What are we proving? I can move big boxes on my own... but I'm no less independent if I accept help that is offered to me. That guy would have been no less of a man if I held the cart in place or lifted the front of the box so it wouldn't catch on the truck bed. Speaking of pride... can we start being more proud of accepting help and then paying it forward? Instead of being proud of our brute force?

I've gotten better about accepting help... and asking for help. In fact, I'm going to be looking for help pretty soon because my large order of fence panels, doors, baseboards, and more is about to be delivered. That also means more blog posts in the future! Let me know if you want to help paint or install any of those!

Wednesday, June 18, 2014

Scary Story Time

It was a dark and stormy night when my phone rang. My friend was scared AND was home alone......... water was pouring into the home office that contains a lot of filming and electronic equipment. Ok,  not the horror flick plot you may have envisioned at first, but this is very scary for a home owner! Not only can water ruin the stuff inside our homes, but it can cause damage and mildew and mold (oh my).
First things first, the water needed to be diverted until the rain stopped. Based on her description of where the water was leaking I suspected the exterior sill was the problem and advised her to dry any pooling water on the sill as best as possible and to put a waterproof, malleable plastic something or other in the window draping over the side of the house. She suggested trash bags, which was a perfect solution! Add a little duct tape and no water was going to touch that sill. It worked for the next couple of days of storms. She sopped up as much water from the carpet as she could with towels and kept fans oscillating on that area for days too.

The day after the phone call I was able to bring another fan for carpet drying and assess the window situation. A crack between the bricks and the mortar seemed to be the issue. It would also explain why there had to be downpours and pooling water on the sill for it to come inside the house, since the leaks didn't happen every time it rained. Luckily they have plaster walls which are mold resistant, so that's one less thing to worry about, and overall the damage wasn't bad. It still needed to be fixed because a trash bag barrier isn't the classiest.

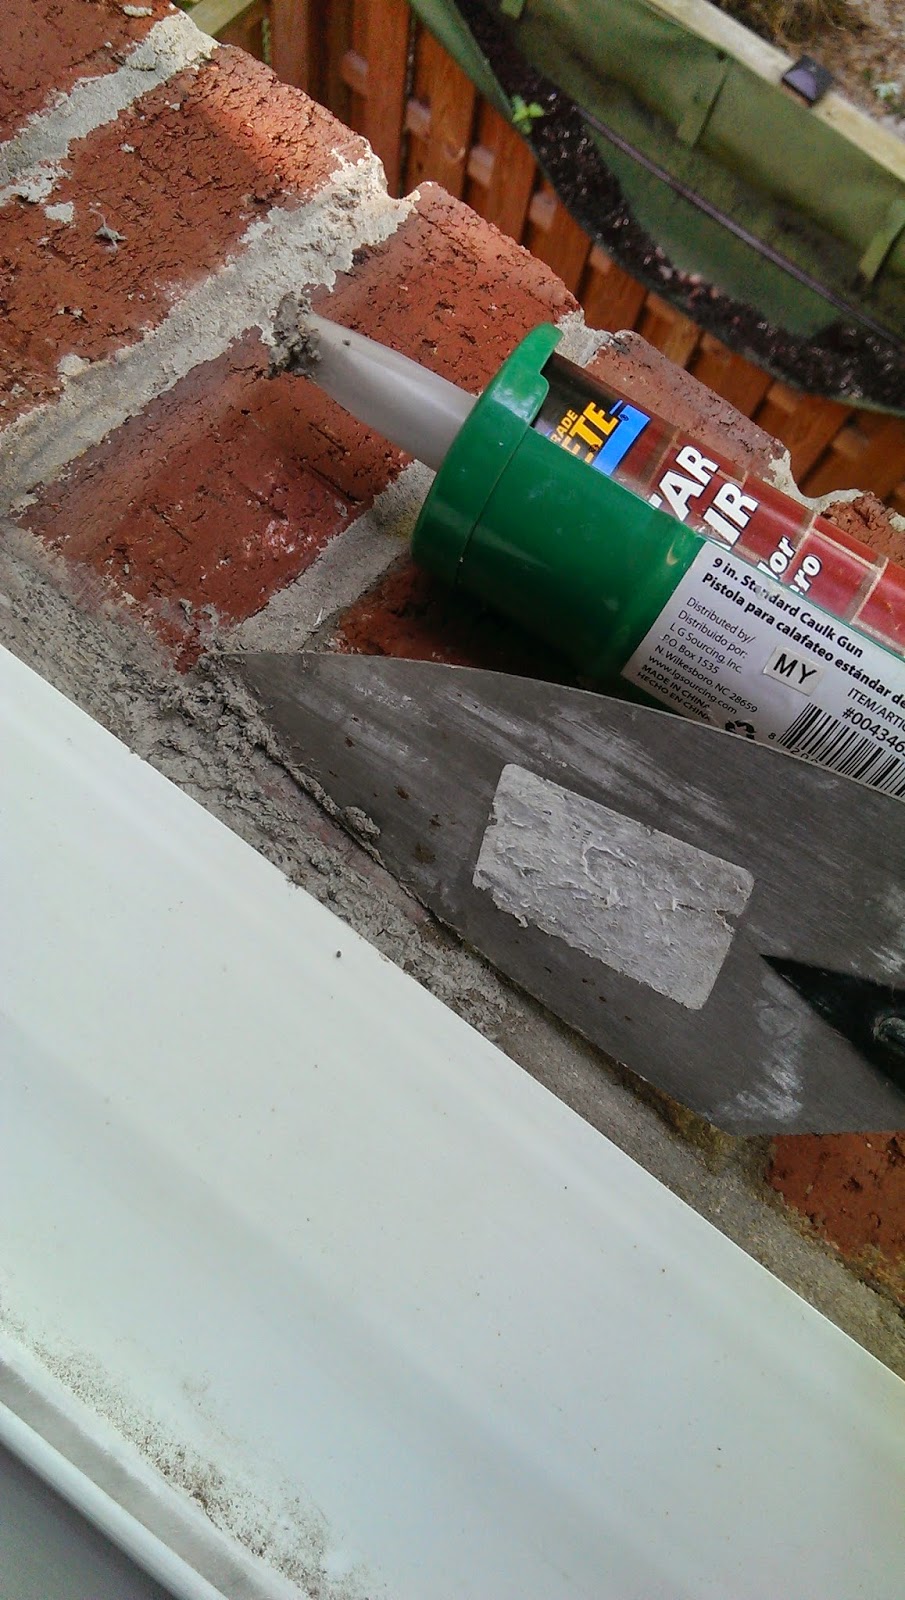
I happened to be at a Lowes two days later so I picked up some Quikrete Mortar Repair. I already had a trowel from my deck building project and a caulk gun. The weather seemed to be cooperative the next two days with no predicted rain, so the next morning I set to repairing that crack. First I needed to clean it and make sure it was dry. My fan set-up may have been overkill, but I wanted to be sure it was dry after all of the rain we had!

Next up, applying the mortar and smoothing it out. The mortar repair canister actually has a little lip on the end to help get the new mortar into the crack and smooth, but I was glad I had the trowel too. It really helped to make it more even. I probably spent twice as long as I needed to on it, but I feel good about the results. So far there haven't been any more downpours to test it (which means it should be good and "cured" at this point), but crossing fingers that it solves the problem! The before-and-after picture below makes me hopeful that it will!


Thursday, June 5, 2014

Expanded compost bin!

I finished moving my compost into the new bin and even had a whole wheelbarrow load to add to front yard where I planted more tomato and pepper plants! Because I still had wood supports, mesh, and a large pallet, I added a second section to my compost bin. I figured I should share pictures.


I found some old plastic plant pots that fit in the tops of the pallets (see empty ones in picture to right), so I added compost and some small flower seeds to them. If they bloom in the shady section of my yard I'll post pictures of those. It could be a nice addition to this practical/functional part of my yard.

Wednesday, June 4, 2014

Pallet compost bin


My brother and I had put together an amazing compost bin in 2010 from salvaged trash in the industrial park near my house. Three and a half years of storing decomposing matter later, it was SPENT! Last year I flipped it over and used the top as the new bottom by attaching a new piece of plywood, but it was in very sad shape this year. This picture is after I pulled off one side of it in order to more easily move the compost. The decayed sides you can see used to be part of the bottom. I can't complain because its contents filled my gardens, which provided me with lots of food. But it was time to upgrade the bin.


Conveniently just in time, a neighbor had some leftover pallets from a materials delivery for a project he was doing. I used them and some mesh that another neighbor had put out for trash to make a new compost bin. The pallets had the wood supports (front and back of bin in the picture below on the right), so instead of removing them, I just left them to be part of the bin. The mesh keeps the compost inside the bin at the back. The best part is that I also have another discarded pallet and extra wood supports so eventually it will become a double-bin, which will make flipping the compost much easier. I may even extend it to a triple-bin with another two pallets, because that will be extremely helpful in the fall when there are a ton of leaves to compost.


I moved a lot of the compost into the new bin, but that stuff is heavy and I had enough of a workout putting everything together. I'll move the rest later and it will be ready for my garden next year!

Here's a descriptive source with more information to make your own.