It was a dark and stormy night when my phone rang. My friend was scared AND was home alone......... water was pouring into the home office that contains a lot of filming and electronic equipment. Ok, not the horror flick plot you may have envisioned at first, but this is very scary for a home owner! Not only can water ruin the stuff inside our homes, but it can cause damage and mildew and mold (oh my).
First things first, the water needed to be diverted until the rain stopped. Based on her description of where the water was leaking I suspected the exterior sill was the problem and advised her to dry any pooling water on the sill as best as possible and to put a waterproof, malleable plastic something or other in the window draping over the side of the house. She suggested trash bags, which was a perfect solution! Add a little duct tape and no water was going to touch that sill. It worked for the next couple of days of storms. She sopped up as much water from the carpet as she could with towels and kept fans oscillating on that area for days too.

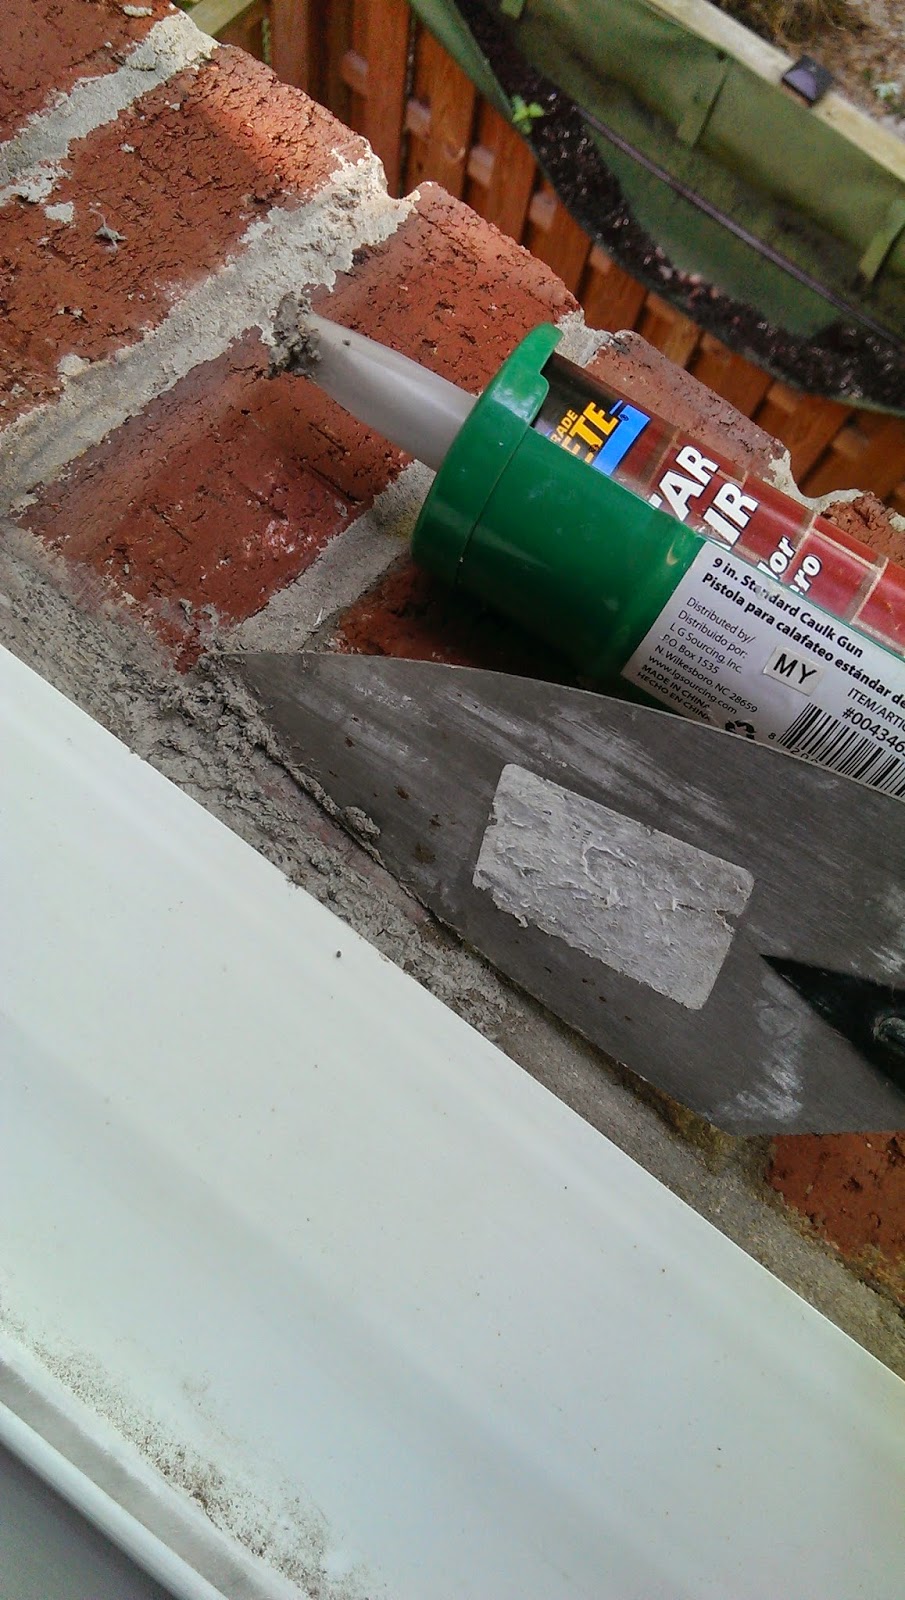
The day after the phone call I was able to bring another fan for carpet drying and assess the window situation. A crack between the bricks and the mortar seemed to be the issue. It would also explain why there had to be downpours and pooling water on the sill for it to come inside the house, since the leaks didn't happen every time it rained. Luckily they have plaster walls which are mold resistant, so that's one less thing to worry about, and overall the damage wasn't bad. It still needed to be fixed because a trash bag barrier isn't the classiest.
I happened to be at a Lowes two days later so I picked up some Quikrete Mortar Repair. I already had a
trowel from my deck building project and a caulk gun. The weather seemed to be cooperative the next two days with no predicted rain, so the next morning I set to repairing that crack. First I needed to clean it and make sure it was dry. My fan set-up may have been overkill, but I wanted to be sure it was dry after all of the rain we had!
Next up, applying the mortar and smoothing it out. The mortar repair canister actually has a little lip on the end to help get the new mortar into the crack and smooth, but I was glad I had the trowel too. It really helped to make it more even. I probably spent twice as long as I needed to on it, but I feel good about the results. So far there haven't been any more downpours to test it (which means it should be good and "cured" at this point), but crossing fingers that it solves the problem! The before-and-after picture below makes me hopeful that it will!