Showing posts with label windows. Show all posts

Wednesday, June 18, 2014

Scary Story Time

It was a dark and stormy night when my phone rang. My friend was scared AND was home alone......... water was pouring into the home office that contains a lot of filming and electronic equipment. Ok,  not the horror flick plot you may have envisioned at first, but this is very scary for a home owner! Not only can water ruin the stuff inside our homes, but it can cause damage and mildew and mold (oh my).
First things first, the water needed to be diverted until the rain stopped. Based on her description of where the water was leaking I suspected the exterior sill was the problem and advised her to dry any pooling water on the sill as best as possible and to put a waterproof, malleable plastic something or other in the window draping over the side of the house. She suggested trash bags, which was a perfect solution! Add a little duct tape and no water was going to touch that sill. It worked for the next couple of days of storms. She sopped up as much water from the carpet as she could with towels and kept fans oscillating on that area for days too.

The day after the phone call I was able to bring another fan for carpet drying and assess the window situation. A crack between the bricks and the mortar seemed to be the issue. It would also explain why there had to be downpours and pooling water on the sill for it to come inside the house, since the leaks didn't happen every time it rained. Luckily they have plaster walls which are mold resistant, so that's one less thing to worry about, and overall the damage wasn't bad. It still needed to be fixed because a trash bag barrier isn't the classiest.

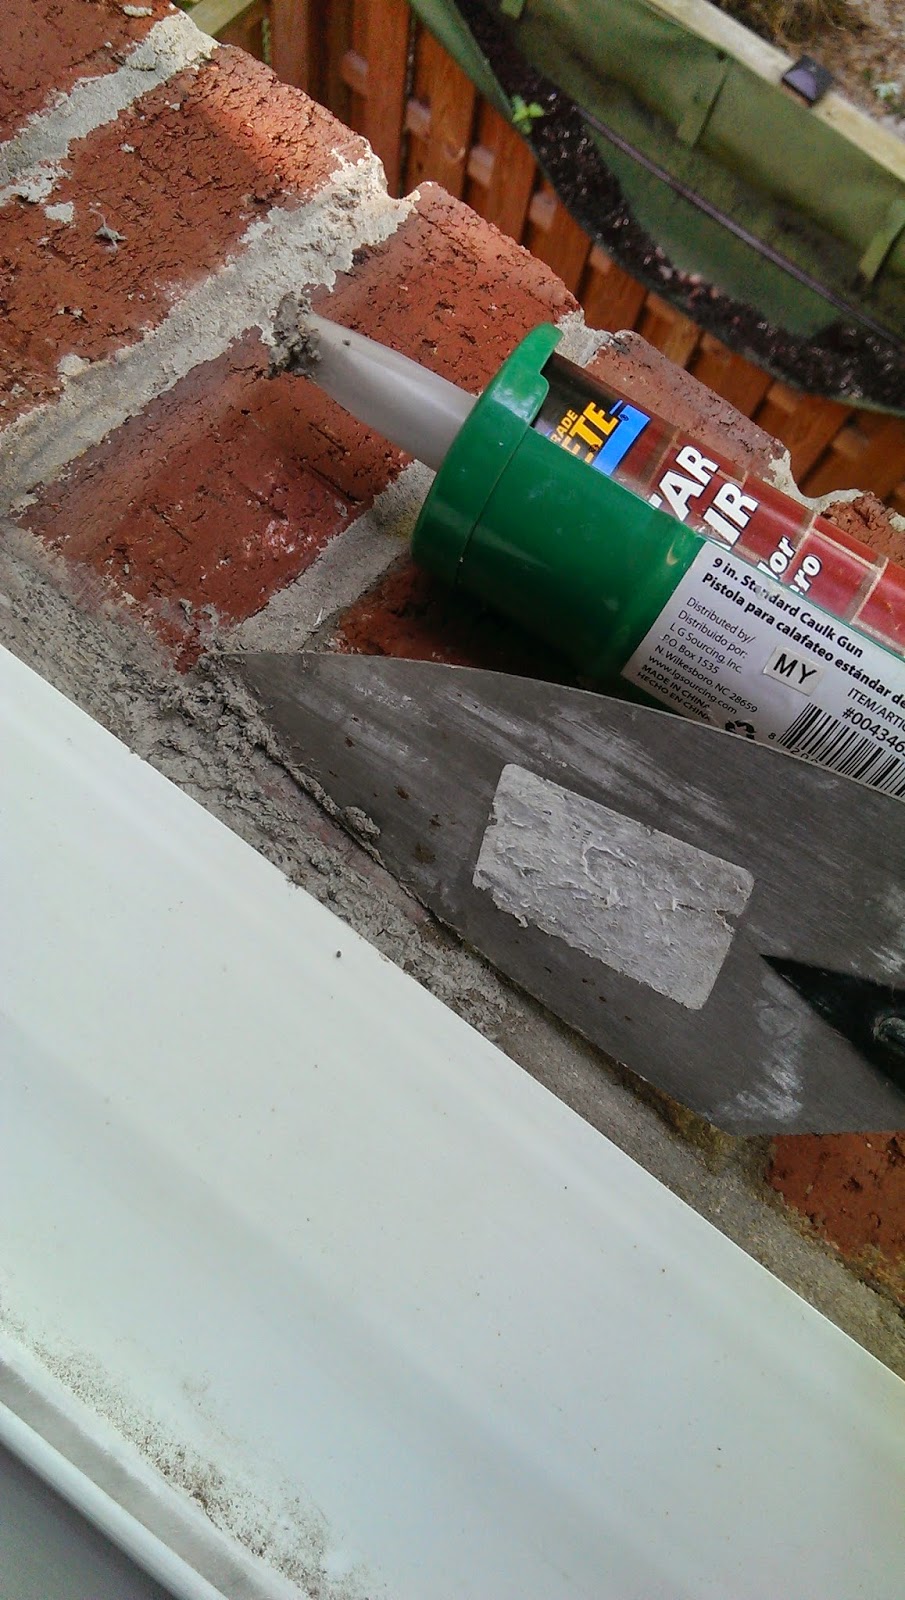
I happened to be at a Lowes two days later so I picked up some Quikrete Mortar Repair. I already had a trowel from my deck building project and a caulk gun. The weather seemed to be cooperative the next two days with no predicted rain, so the next morning I set to repairing that crack. First I needed to clean it and make sure it was dry. My fan set-up may have been overkill, but I wanted to be sure it was dry after all of the rain we had!

Next up, applying the mortar and smoothing it out. The mortar repair canister actually has a little lip on the end to help get the new mortar into the crack and smooth, but I was glad I had the trowel too. It really helped to make it more even. I probably spent twice as long as I needed to on it, but I feel good about the results. So far there haven't been any more downpours to test it (which means it should be good and "cured" at this point), but crossing fingers that it solves the problem! The before-and-after picture below makes me hopeful that it will!

Thursday, October 10, 2013

Helping out with home repairs

Two broken fingernails and 3 trips later, I finished installing 3 doorknobs and 2 deadbolts, 2 curtain rods, 1 towel bar, 1 toilet paper holder and fixed 1 other curtain rod at my aunt's house this summer. She needed some help preparing her house to be put on the market and I must say it looks good.

Curtain Rods
The curtain rods were challenging because the windows have steel plates around them and there isn't much space between the drywall and the exterior brick walls for normal drywall anchors. I had to figure out the correct placement of the brackets that would avoid the steel plates and any previously drilled holes. I used my studfinder to figure out where the steel plates were and bought special anchor screws to attach the brackets. These are fantastic:


(please forgive the poor quality iPhone pictures)


Door Knobs
Installing Baldwin Door Knobs was simple! I love the quality and the look of this brand. And you can re-key them yourself so that they all use the same key. No need to have the hardware store do it before you install them! They're pretty spectacular. Not much to note other than I recommend going for the extra expense of nice door knobs. I didn't when I moved into my house and regret it now. Eventually I'll be replacing mine.


Bathroom hardware
My aunt got updated bathroom hardware that was pretty easy to install. A little measuring, drilling, drywall screws, and installing the towel bar and toilet paper holder were easy.
out with the (g)old... in with the new (chrome-finish)

I recommend the DAP Spackle that goes on pink and dries white.


Wednesday, June 16, 2010

Finally able to sleep in... and saved money making Blackout Curtains.

I have a south-east facing bedroom with 3 huge windows making it extremely difficult to sleep past sunrise. It wasn't too bad in the winter, but now sunrise is around 5:30 in the morning and it's bright!!! The blinds gave me privacy, but don't block out much light.

Solution: Blackout curtains! I got 3 long panels of brown blackout curtains (yes, they come in colors other than black) and did a little sewing with a borrowed sewing machine. From the 3 panels, I was able to make 6 curtains that fit my wide windows. I plan to add some sort of detail or tie-backs to them eventually. I'm thinking about integrating the teal color. For now they can be plain as long as they block out the early morning sun. Bonus - Blackout curtains are energy efficient b/c they prevent unnecessary solar heat in the summer, which lead to less AC use.


I believe I paid $10 each for the 3 panels, which would probably have been comparable or cheaper than buying blackout fabric from a fabric store. Tip: To save money on window treatments for shorter windows buy 1 long panel to make 2 curtains.

I've had two people ask me where I got the curtains, so I figured I would add that information to the post. I bought them at Anna's Linens. I think they were these.

Friday, June 4, 2010

How I saved $150

My uncle had some mini blinds that he intended to install in his old house, but never got around to it before he moved. He remembered he had them when I was discussing window treatments for my new windows with my family and suggested that I wait until he checked the size of them before I bought blinds. Conveniently he had 5 sets of blinds and I had 5 windows of identical size in the bedrooms of my house.

Inconveniently...
The opening size of my windows = 34 inches. The size of his blinds = 33 inches.

Seriously? An inch too small?

Well...Where's the fun in having things work out perfectly? I thought about it and decided that saving 30 bucks a pop was worth exploring other options to make the 33 inchers work. Besides, the new vinyl windows have a good inch border around the glass, so having 1/2 inch gap on either side of the blinds wouldn't inhibit privacy. I started the search for 1/2 inch wood blocks that would fill the space where the blinds would attach, but couldn't find any smaller than 3/4 inch.
My M.O. for house projects has been to have a couple small ones going on at a time so I was also in the process of removing trim from the doors. The wood trim was very plain about 1 1/2 inches wide and the length of the door. It also turned out to be about 1/2 inch thick so when I was cutting the trim down to manageable sizes with my miter saw. I got to thinking that if I cut pieces the width of the inside of the window frame and painted the wood white, then I might just have a solution. I ended up having to get longer screws in order to ensure the blinds were secure through the block and into the frame, but it worked and isn't noticeable. Once I put up curtains they won't even be visible.

A lil' ingenuity saved me a nice chunk of change.


Friday, January 1, 2010

Roof Stomp Housewarming Party

Fourteen of my friends confirmed that my new windows are durable during Laura's "Window Bang," which is my Bible Study group's version of the Air Force's "Roof Stomp." Those events begin just as their titles imply... in a Roof Stomp, people get on the roof of the home of the person they are surprising and stomp on the roof. Well, I certainly was surprised when all of the sudden I hear this loud thundering noise that turned out to be people banging on every single one of my main level windows. It's a good thing I hadn't armed the security system because ADT would have been really confused about why all of my window sensors were going off. It takes me a second to realize who's out there (it was already dark that Wednesday night), but when I do I welcome the largest gathering (to date) into my home! We proceeded to have an Impromptu (to me, that is) Housewarming Party that I didn't have to plan! They brought food, drink, activities, cash for a housewarming gift, and most of all FUN!

We ate, drank, talked about the house and what an undertaking it is (but it'll be worth it), played Christmas carols on pipes (think wind chime chorus -- see video), and toasted the house with champagne.

I have fabulous friends!

Friday, November 20, 2009

Windows are in and priming commences!


It only took the contractors a day to install the windows and they look MUCH better than the previous ones and they work really well. Hopefully they'll decrease utility costs too. Nonetheless, they increase the value of the house. The metal casing is gone and is replaced with primed wood, and the windows are vinyl and don't have mildew residue on them. Amazing!

My most recent project is getting the red rooms ready to prime. I've scraped, sanded, and spackled the walls and I've removed the baseboards. I'll write soon about the priming party I'm having on Saturday.

Saturday, November 7, 2009

New Windows!

Even though my walls desperately need a good coat of paint, I've decided to focus my energy and money into winterizing and greening my home. I knew that I would need to get new windows eventually, but the ones in the basement were original windows to the house built in the 1950s and had to go ASAP. I actually had to tape one of the windows so that it wouldn't open. Classy, huh?

I scheduled an appointment with my good friends Home Depot to get quotes on window replacement. They're getting installed sometime this week, so I'll post some before and after pictures.