 |
| Old flooring |
I learned some key things about installing hardwood. (1) When placing a board closest to any wall, use spacers to keep about 1/2 inch of space. (2) You have to face-nail the first board in place and use a nail punch to create space for filling in with wood filler. The other boards can be nailed in along the side at an angle so the nail is hidden.
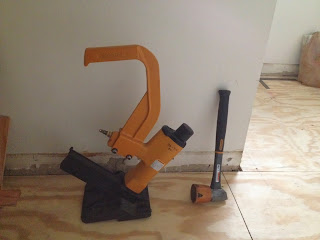
(3) In order to get the boards tight to each other before nailing or stapling into place, remnant of flooring and a rubber mallet are used to knock the board being placed as close as possible to the secure boards. (4) The air compressor powered flooring stapler makes things go much more quickly, but that's not an option until four or so rows of flooring are laid due to the size of the stapler (and same goes for the last few rows, but we didn't get to that when I was there). Basically, once the board is placed tight against the secure ones, the flooring stapler is lined up along the edge and hit with a heavy duty mallet to send a staple at the correct angle into the side of the board so it's hidden by the next board. Besides it just looks cool...
 |
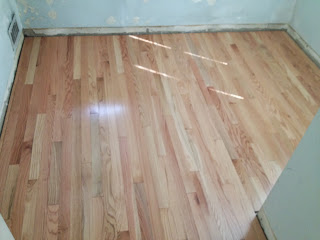
| Completed new flooring. I helped with the right side (not that it really matters) |
AND Steve's new floors also look cool! Another example of hard work paying off.

No comments:
Post a Comment