Experiences of a handy-woman-in-training breaking nails (finger and fastener nails) while repairing a fixer-upper. Complete with tips (not the acrylic type) & lessons learned
Me: I need to hammer that in [pointing to the hinge pin in my front door].
Visitor: I think I have a hammer in my car.
Me: Oh, I have one in my basement. I just need to remember to do it.
Visitor: Of course you do... I bet your hammers have hammers.
My house is old, which means there's a risk of scary stuff... like asbestos. Asbestos isn't a big deal if it's left undisturbed, but as you may have figured out by now, my whole house needed revamping. If there's asbestos in my house... it's going to be disturbed. The basement - in its wood paneling glory - eventually needs to be gutted and remodeled and is the prime location for potential asbestos hazards in my house. Even though I won't be fixing my basement until I finish most other projects, I have some smaller ones coming up that require removal of ceiling tiles in the basement. I decided to throw on goggles, a mask, and gloves to get samples of the ceiling tiles and vinyl flooring tiles to send to a lab to be tested. It just made sense to test both pieces at the same time. You can buy kits for sending your samples away, but I read reviews that they are a waste of money because most labs just need the samples in ziploc bags.
Ceiling tiles
Vinyl floor tiles
The lab needed each sample in a separate marked ziploc bag, a chain of custody form, and a check or credit card to pay for the samples. I shipped it in a regular padded envelope and waited.
A few days later I got notice that they had received my samples and would get results to me approximately 9am on March 4th. Well, at 9:39 this morning in California an email was sent to me with the following great news!
I'm relieved that I don't have to hire professionals to gut my basement. Demolition is the most fun part, right?
It's March and we've seen some 50 and 60 degree days recently. Practically springlike after our polar vortex winter. People shed their jackets. Trails were full of walkers, runners, and bicyclists. Dogs romped around at the dog park. Until today... the 3rd day in March... it feels like 4 degrees outside and we're being slammed with half a foot of snow. The tricky weather gave us a reality check that it is still winter. Jackets are back on (for those few people who choose to venture outside). Trails are empty. Dogs are snuggled indoors. We're protected from Storm Titan.
Unfortunately, my tulips were also tricked by temporarily increased temperatures and decided to peek through over the weekend. While they are more resilient when it comes to cold than I am (which I'll admit is pretty pitiful), they don't have the option of going inside and putting on fleece pants and slippers if the cold and snow do bother them. I helped them with the next best thing...
Tulips and some Columbine growing too
Mulch: The jacket for tulips (and other plants)
I took advantage of the balmy day yesterday to do some yard work before the 50 degree temperature plunge. After clearing away some dead brush, I did a quick Home Depot trip to pick up 2 large bags of mulch (plus some seed starting soil and the rest of the materials needed for a squash arch - just a preview of upcoming blog posts!). A few chunks of the mulch were frozen from being stored outside in the HD Garden Center, but enough of it was loose to cover the tulips and few other plants that also wish it were already spring. Let's hope that Ulysses, Vulcan, Wiley, Xenia, Yona, and Zepher don't make an appearance, but if they do my plants are protected... and will be sufficiently watered when the temperatures finally increase for good!
I was inspired by the original subway tiles to do a black and white bathroom. Besides, the towels and shower curtain can easily add color to a bathroom. I figured that a black and white bathroom could also be helpful for resale value of the house (says the girl who painted other parts of the house orange haha). My pop of color is purple in the towels. However, I got a black and white shower curtain, so I needed to incorporate my accent color elsewhere. The spot that needed color the most was on the right side of the bathroom, but I didn't want to just have purple stuff sitting on the top of the toilet tank either. I decided to add a shelf that would withstand the weight of a purple diffuser and a purple beta fish (and container)!
I found fun swirly "scroll" brackets and was given a nice board that friends were getting rid of to cut for the shelf. [Sidenote: They had used the boards as part of a TV stand but got a cool electric fireplace TV stand as a replacement... and it's really cool!] Some paint, measuring, drywall anchors, and drilling later, here are the results.
My purple beta fish was added on Saturday! I'll call him CG for "cutest grape" because this commercial makes me smile.
I found a purple glass container to use as a reed diffuser, so my bathroom is vanilla scented.
\
The black and white sheer handkerchief holds my assortment of earrings
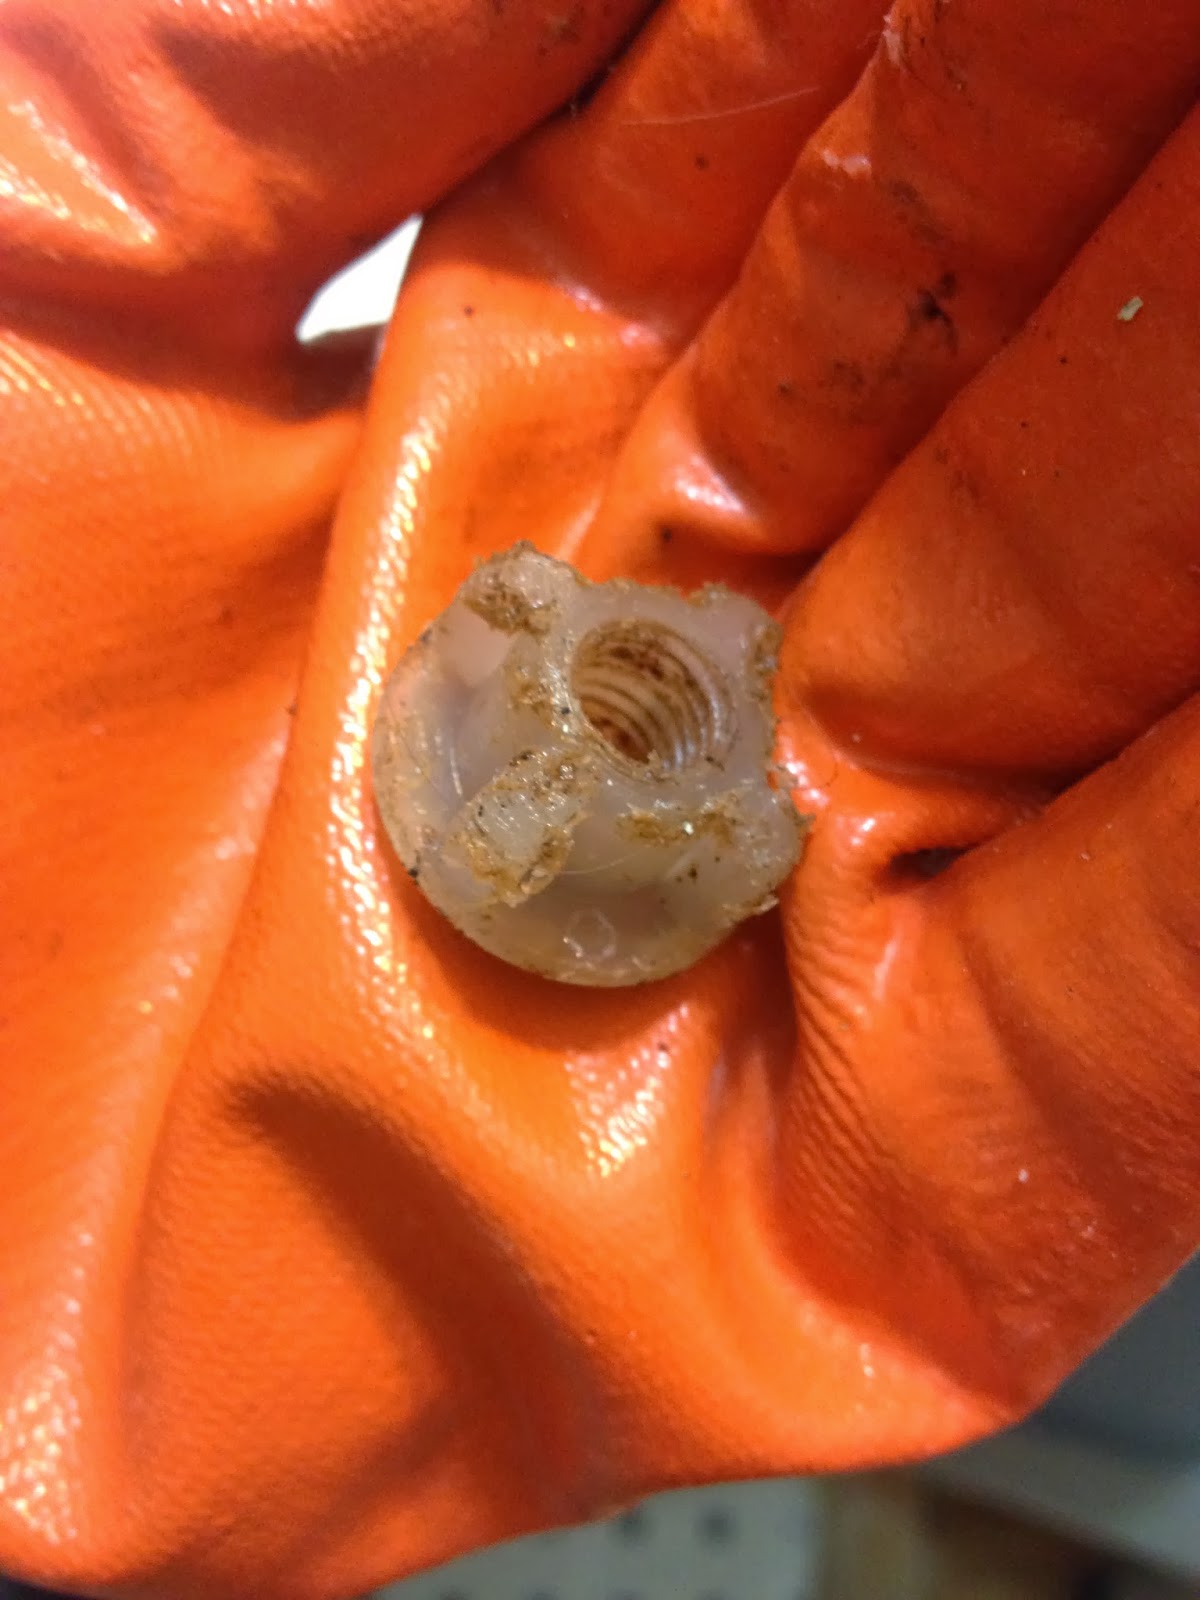
I thought that replacing my toilet seat was going to be simple. Remove some bolts, remove the seat, clean the toilet, put on new seat, add the bolts. Yeah.... that's not the case when the bolts are extremely rusted! Adding WD-40 helped with one of the bolts, but even so, my arms were extremely sore from trying to get the first bolt off. Look at how gross it was. A tip from my younger brother that I learned after I replaced the seat: the product PB Blaster would have done the job a lot easier and it can be found at auto stores near the WD-40. I'll have to get some of that if I have other problems with rust.
The second bolt was somewhat stripped and I was unable to get it to budge from the plastic nut underneath the toilet. I was frustrated and tired and unwilling to go through a tougher version of what I had just endured with the first one. I put a drill bit in my dremel in order to break the nut away from the rusted bolt. Drilling on either side and using needle-nose pliers let me remove it entirely and much easier!
Installing the new toilet seat was simple. The great things about it are that it matches the toilet (the old one was not quite white) and, at my mom's recommendation, I got a quiet-close seat. Recommendation, I got it from Bed Bath and Beyond with a 20% off coupon, so it was cheaper than had I bought it at a hardware store.
This is not in slow-motion.
Gravity-resistance = Quiet-close
I decided to tackle my bathroom walls during my unexpected stay-cation. I had to do a painting frenzy because I had to scrape the old yellow paint, prime, and paint behind the toilet tank all in one fell swoop. This is the only bathroom worth using in my house and I didn't want to have to take the toilet tank off and on more than once.
The tank is secured with 3 bolts/nuts, with heavy duty rubber washers. The online instructions for how to remove a toilet tank are pretty thorough, but the main tip I have is for after putting the tank back on. Keep some newspaper on hand to place underneath the tank after tightening the nuts in order to find any drips. I found that I had to tighten one of them that way.
It's no plastic grocery bag filled with paper towels and covered with caulk, but the loose 2x4 with a piece of drywall attached to it wasn't very effective either (left picture). I cut out a bigger piece of the wall so that I could attach a custom cut piece of drywall to two of the wall studs (right picture). After that, I put spackle in the gaps and once it was dry, I sanded the wall as flat as possible before priming and painting. It's not the best job I've done on wall repair, but it's behind the toilet and it's the pretty good work for having to maneuver around the water supply for the toilet.
I had two other main wall repair projects in the bathroom:
There was a chunk of wall broken next to the tub that was too big for spackle to fill. I used Plaster of Paris to fill in the gap of plaster that was missing. It took a while because plasters has to be applied in thin layers, letting each layer dry in between. Then, that had to be sanded too.
There was also a smaller hole in the wall next to the door where the baseboard had been. I used another mesh patch and spackle to fix that hole.


.JPG)