Showing posts with label bumps and bruises. Show all posts

Sunday, April 3, 2016

Demolition

It's big project time again! I lost momentum for a while, but spring is bringing back energy and motivation. I was hoping to dig more post holes for fencing in my backyard yesterday, but "they" were calling for rain all morning (it didn't... see one of my favorite tweets to the right).

Instead of working in my yard, I decided it was time to get rid of the built-in shelves in my spare room/office. They're too deep to be convenient storage and there's a ton of unusable area above the top shelf. Eventually, I'll put in a large closet so the small closet on the left had to go too.

There's something satisfying about demolition. It creates a clean start and opportunity to make something better. Plus, if you have any pent up aggression, kicking drywall is a great outlet.

I had a lot of quality time with my hammer and pry bar. I started with the closet because once I removed the drywall next to the shelves, I knew they'd be easier to remove without entirely destroying them. I was making enough of a mess as it was. I used a hand saw to help remove the last 2 wall studs. One of the other great things about demolition is that it requires fewer tools (and, thus, fewer trips to my basement) than other house projects.

I haven't cleaned out all of the junk, but here's the newly opened space and the result of my hard work.

Sunday, November 2, 2014

Brightening up my home

I've had "installing doors" on the to-do list for a LONG time. I forgot to take pictures of the old ones but there's an example of the dated and unattractive doors in this old post. Somewhere I probably have pictures of the door frames that were in horrible shape, but I couldn't find them so I'll explain one of the problems. At some point before I moved in, the screws for the hinges had stripped the wood in the frames. Instead of replacing or even repairing the frames, they flipped the door and screwed the hinges into different places in the same frames. You could see the damaged areas of the frames... plus the frames had a ton of coats of paint on them (the house is 60 years old after all). I've been living with upside-down doors since I moved into my house... until now.
Today, I finished installing the brighter, white doors upstairs. I did the small closet door on my own a while ago, but had help from my brother and neighbor securing the two bedroom and the bathroom doors. Some of the installation was trial and error (story of my home repairs!) so here's what I learned.

First, secure the door knob side of door at top with shims.
Secondly, nail in frame with 2 or 3 nails on each side making sure the frame lines up with the drywall.
Then, shim the hinge side of door making sure it's plumb.
Shim the door knob side of door.
Finally, check the door closure and adjust as needed.


I did some of these steps out of order with one of the installations and it took way longer than it should have. I saved myself a lot of time and frustration installing the last two doors this weekend because I had typed up those steps. It wasn't frustration-free though because I did bend a few nails and smashed my thumb once (I have a nice fever blister to prove it). I need to pay more attention when I'm hammering and take breaks when I get tired. In my defense, twice the nails got caught in knots in the wood so they were going to bend regardless of one's skill.
.
These doors look much better than the old ones and the bathroom even seems bigger with the white door. Next up, adding the casing. I was hoping to do that for some of the doors today, but am missing a tool that will make it much easier. Instead I filled in the nail holes with spackle and did a few other touch-up things. Guess I'll make another trip to a hardware store (story of my home repair life!) so I can add casing next weekend. If I'm super productive I may even paint everything a real white instead of just leaving them primed. I suspect that will be a project for a later weekend though.

Not that the doors aren't nice to look at, I'll leave you with these prettier flowers that I bought to brighten up my downstairs. Thanks for checking out my house progress after such a long delay between my posts! I have done more work in my yard and stained a lot of fence panels recently, but didn't have any big tips to share with those project.

Monday, August 20, 2012

Half of the deck boards are installed!

Thanks to Amanda and Rachel half of my deck boards are installed. Amanda helped me haul them outside last weekend. Rachel battled mosquitoes Friday night to start the deck board installation process and was willing to come back Saturday so that we could get to the halfway point! Let me remind you that halfway is 12ft x12ft. It's no small feat.
The first ones took a while because we were learning the best ways to space the boards and secure them so they would be straight. I had read that using a piece of plywood worked well as a spacer and we found that to be true! (see right)
Once we got our method down, the next boards took us considerably less time. I would wield the drills while Rachel would push the board into place with her feet (guys would probably use only a prybar, but I like our leg strength method too). We learned that it's better for the ends of the board to bow out because once one end is secure, it's much easier to push the boards at the end than in the middle.
My dad gave me the tip to make sure the grain of the wood at the cut ends look like an umbrella instead of a cup so that the boards don't "catch" water, but let it run off. (see below) Oooops, I didn't double-check all of them because a couple are flipped to cups (not to be confused with Flip Cup).
We also took my 2nd trip of the day to Home Depot to get more screws and drill bits. I found myself breaking bits (again) because the drill bit gets really hot, hits knots in the wood, is slightly twisted on the exit, was a longer bit than I needed, or some combination of reasons for me to break two of them in the 25 boards that we completed. Tip: Buy Extra Bits! I had gone early in the morning to Home Depot with Amy (big thanks shout-out to my neighbor) to get some more deck boards and the lattice to put along the sides so my dog wouldn't loose all of his toys under the deck. With 25 deck boards down he was risking that already, so the other part of my Saturday was spent cutting the lattice to shape so that I could block off the sides of the deck. I used both a hand saw and a circular saw to cut the lattice to size. I did lots of measurements around the railing posts and dug some of the ground so that it would be slightly more level. I'm going to wait until all of the deck boards are down and I've trimmed them before securing the lattice with nails, but its temporary-state is enough to block an accidental flying dog toy. After they're nailed on, I'll put more dirt around the bottom to make them more resilient. Oh... and before Rachel came on Saturday, I installed toe kicks on the steps (see right). Since we had put 8 deck boards down on Friday, I had to crawl under them in order to get under the step closest to the house to screw the toe kick on from the inside. (For those of you who have no idea what I'm talking about, I'm referring to the piece of wood between and perpendicular to the ground and the actual step. After the step was installed and I went to take a step up, my foot slid under the step and I had added another nasty bruise to my shin. Tip: Put a toe kick on your step when you make it BEFORE you install it.) The step further from the house (in picture) was much simpler to do because the deck boards above it were not screwed on yet. In other words, I didn't have to crawl on the ground (well, on a tarp on the ground) in a 16 inches high by 16 inches wide space and maneuver under 2- 2x8s to install THAT toe kick. Threat of rain/storms halted work tonight, but here's its current state:

Sunday, July 22, 2012

Broke AND bruised a nail

While doing some deck building, my thumb got slammed between a 4x4 and a 6x6. It was painful and left quite a bruise. I can use my thumb again without it hurting, but for a while there... it was all sorts of painful.
Anyway this is evidence that I named my blog well.


Guess I could put on some nail polish again to hide my boo boo. [Can you tell I've been hanging out with a 4 year old and an almost-2 year old?]

Monday, July 9, 2012

Adventures in insulation - Phase 3-hour-workout

My neighbor's next-to-nothing insulation looked like this across her attic:


The temperature dropped to the 80s so we decided to tackle the insulation in her attic. It was still really hot up there and took some contortion in order to get the bundles in the back of the small angled portion of the attic, but we did it with the help of one of her friends in about three hours. Like many sports, we took time-outs and water breaks; we had our endurance tested and sprinted at the end; we had to think out strategy and execute; and got very very sweaty. I mean... check out my oompa loompa get-up.

Anyway, I'm pleased to post this picture of her newly insulated attic! We're exhausted, sore, and even itchy, but have planned to do this to my attic on Wednesday night. We feel like we have a good system down and are hoping to be able to do it in 2 hours this time! Wish us luck.


Steps and railing posts

My deck has come a long way in the past week thanks to my parents and Whitney for their hard work in the 100+ degree weather. Thank goodness for a lot of shade! Where we left the deck on Friday was passing framing inspection: all beams placed, fence up, & joists attached. My dad was insistent on getting the steps made and the posts for the railing attached before he left. We worked hard on Saturday to fill in some holes and pound the dirt tight and level in order to set pavers for the steps. Unfortunately that led to a 4x4 falling smack dab on my thumb so it's a little swollen and painful, but it wouldn't be a real DIY project w/o some bumps and bruises (and a couple of splinters in this case).We brought a few deck boards out so that we wouldn't need to balance on joists (although my dog does that well - video of that coming soon). Here's a look a the step with those deck boards. The steps are attached with braces and drilled into the 4x4. Each 4x4 post is attached with 2-1/2 inch bolts, nuts, and washers. We used 2x8 pieces as blocking and deck tension ties to attach the posts that run along the joist (left hand side on picture below). Since the beams are 2-2x8s thick, we did not need additional materials to attach the posts to the beam (closest side in picture below).

Thursday, July 5, 2012

Parents visit and parents help build a deck!

My parents came to visit me for Independence Day through this weekend. Since I had the day off, we worked on the deck to cut the posts for the last beam and to set it 24 feet away from the house. We must have measured it 4 different ways 10 times! We mixed the last bag of concrete for the hole along the fence and filled in holes with sand. I had already nailed in the joists between the band board and the beam closest to the house, but we did a few more yesterday... mainly in order to put up one of the fence panels. When I got home from work today, the rest of the fence panels along the deck were in place! They had also put in more joists (dealing with split and warped boards) before they ran out of joist hangers and it got too hot. The frame is almost complete!
There's still a decent amount of work to do for the railing and steps, but we are making lots of progress now.
Kudos to my dad for some creative engineering (that's where I get it from). And Kudos to my mom for her persistence (and that's where I get that from).


BTW- My awesome neighbors helped me stain those fence panels. Nice, huh?!?

Wednesday, June 13, 2012

On the other side of sore

Today I'm feeling almost back to normal. After carrying and mixing 80 lb bags of concrete on Saturday I was extremely sore until this morning and my bruises are starting to fade. I had four amazing friends (whom I have given unexpected super hero nicknames in this post) come help me to haul, mix, pour, and level concrete! On Sunday, my friend, The Supreme-Concrete-Hauler, said he felt like someone beat him up in his sleep. I'm going to be ripped by the end of this project. Well, maybe not if I keep eating like I have been. I made banana baked french toast, a delicious egg bake, and pizza for our sustenance... and we certainly needed it. At first we were mixing the concrete in the holes because there were 3 of us doing mixing at a time, but in the afternoon when there were fewer people, we mixed the concrete in the wheelbarrow. It was much easier that way and my new wheelbarrow looks well-used now.

We were able to mix 2 bags at a time in the wheelbarrow. Tip: Make sure you rinse the concrete out of the wheelbarrow if you're taking any sort of break between mixing loads because concrete can dry pretty quickly. Luckily, The Master-Leveler would do the leveling while The Mixing-Hero and I stirred up a new batch of concrete so that concrete wouldn't dry in it.
A shout-out to the worker at Home Depot who loaded both loads of concrete. I gave positive customer feedback on their online survey... here's hoping I win the $5000 gift card. HD trip count for the day was 3 trips. Here's the truck being weighed down by a ton of concrete and a wheelbarrow.
The tools and hoes were in the cab of the truck. The Extreme-Errand-Runner got a kick out of my "Hoes, be quiet back there" when they clanged around on our trip back. Unfortunately, the wheelbarrow tire wasn't inflated enough for transporting the concrete the 1st load of concrete. Fortunately, my neighbor lent me his bike tire pump before unloading the 2nd load!

Monday, June 4, 2012

Phew! Done digging holes and I feel like superwoman!

Thirteen of these
later...
and phase 1 of deck building is done. It's the demolition phase, so I'm pleased to announce that my backyard looks worse than ever.
Dirt pile and dog
Holes and hole covers (chairs, dog house, etc.)
I dug 12 of these holes to be 22 inches square and 24 inches deep (four are 28 inches deep... one of which Steve handled). This includes dealing with downpours that required removing some mud and cutting roots.

Phase 2 is creating concrete footers! But not until after phase 1.5 - hole inspection... coming this week. Let's hope they pass!

Sunday, May 27, 2012

Halfway done digging holes!

I've worked really hard the past 2 days digging and measuring holes for my deck footers. These are impressive holes: twenty-two inches square and between 24 and 28 inches deep! I have 6 holes completely done and three partial holes dug. I'm taking a break in the heat of the day, but may work on them more later tonight. So far I haven't broken any nails, but I do have some blisters forming.

ps. This is my 100th post! 2 accomplishments achieved :)

Monday, June 7, 2010

Breaking bits building a knee wall

When I first moved into the house and was refinishing the floors I removed the banisters from the stairs. The ones at the top of the stairs were not particularly useful because the top 5 steps were missing a good hand railing. The only support would have been to grab the wooden balusters, which just seems like a recipe for disaster to me.

A knee wall is more useful in that spot because then I would be able to attach a long handrail along it going down the stairs. This blog post is about my weekend project of building a knee wall. It doesn't look pretty yet, but the structure is there.

I did my requisite google research about how to build a knee wall before getting started and bought my supplies. 2x4s, a 1x6 oak ledge, and drywall were the main purchases. I also got a dowel to attach the base 2x4 to the former baluster holes. I already had wood screws, drywall screws (thanks to Momma-G), wood glue, joint compound, drywall tape. I ended up buying a new drill because the hand-me-down drill in the picture below wasn't cutting it. I went for a corded one b/c I don't need the mobility associated with battery operated drills, it was cheaper, and I'd like to think it's more environmentally friendly. Somehow in the course of building the wall, I ended up with a bruised knuckle. I should be more careful when using my drill because people will think I spend my weekends punching people or things. I'm a lover, not a fighter.

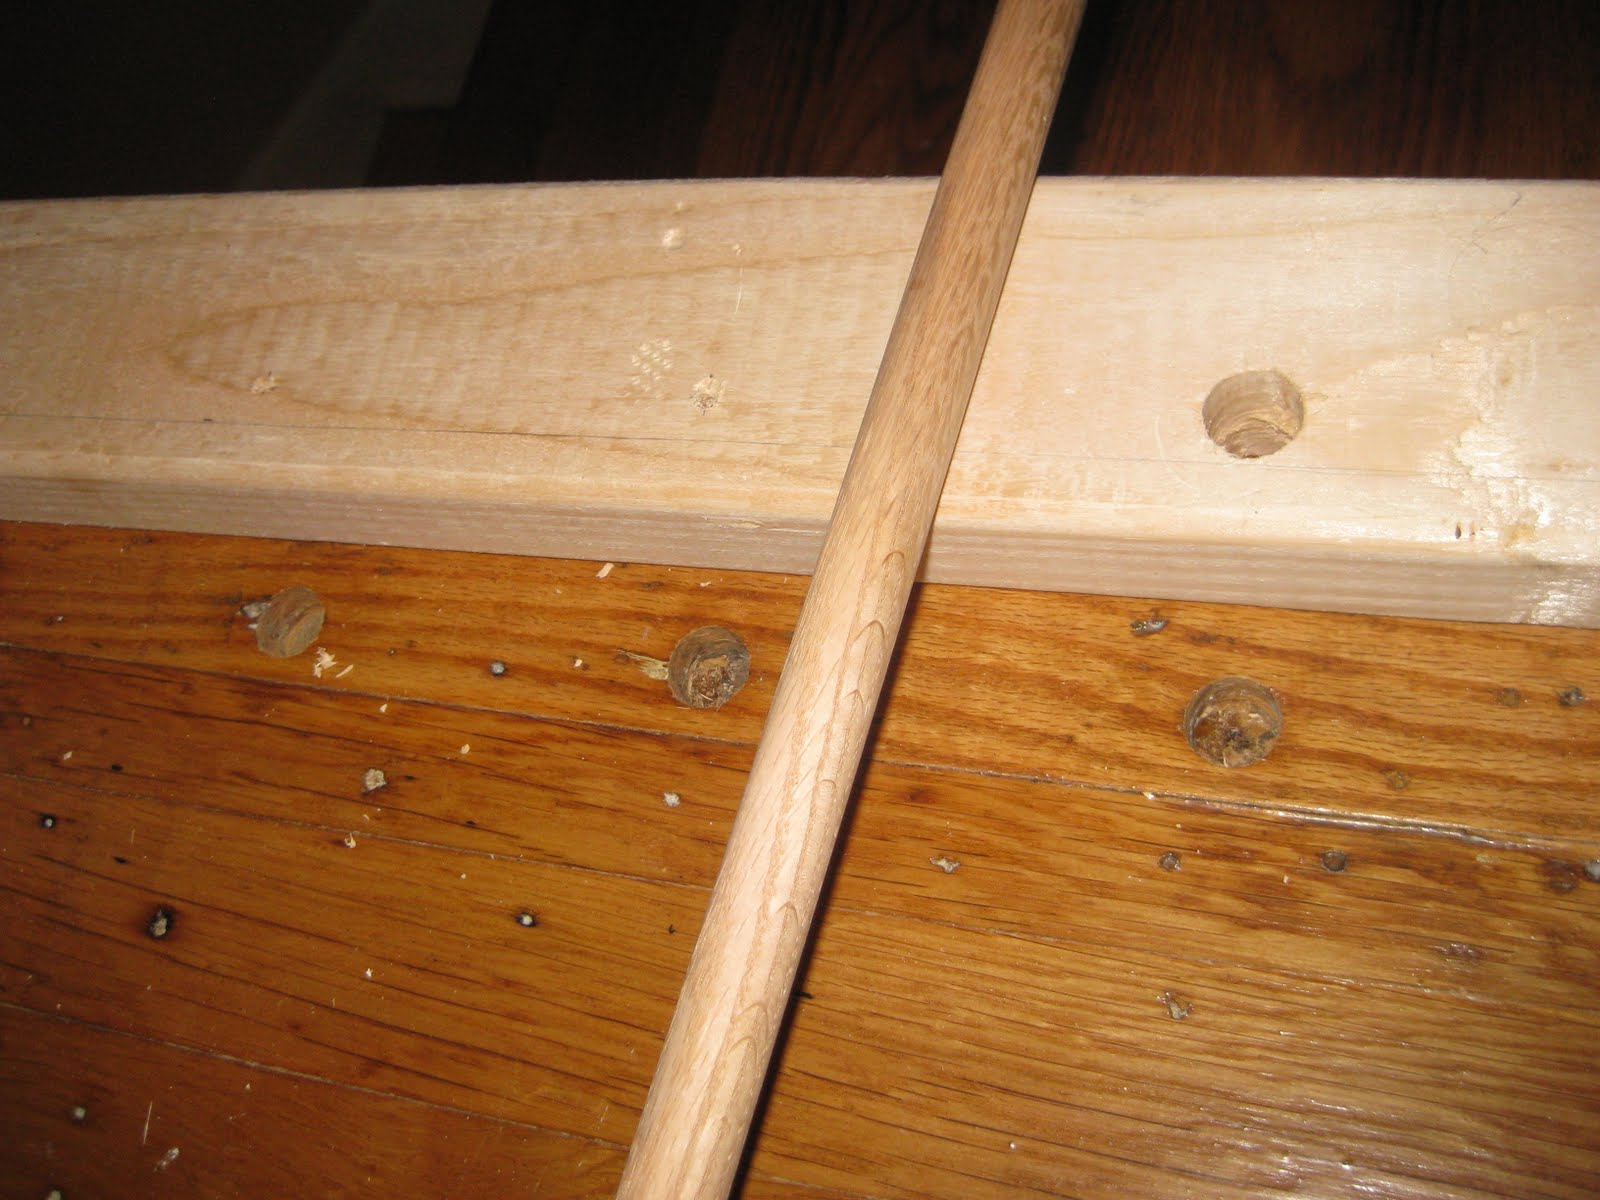
I did some measurements and got to use my mitre saw to cut the 2x4s to length. I also drilled holes in them for the dowel pieces to line up with the holes in the floor. This picture shows hole 1 of 4. The holes lined up when I flipped the 2x4 onto the holes shown in the floor.


When I was cutting the 2x4 so that the wall would be almost 3ft tall, I decided to duct taping the 3 beams together for making the final cut so that they would all be the same height. Then I screwed the 2x4s all together and added the dowels resulting in this frame:


It was at this point that I broke the bit, which I mentioned in a previous post, so it will forever be in this wall. Word of warning - bits get hot! I secured this into the wall and the floor with 2½ inch screws in addition to the dowel pieces.

Then I cut the oak ledge to size and secured it with a lot of wood glue. After I let it dry I used some shorter wood screws to secure it from underneath... don't want those screws to show, so be sure to do this before putting on the drywall. I was a little paranoid about the sturdiness of the wall so I decided to use all pieces of the 2x4s that I could and added some extra support like so:


The last part that I was able to do over the weekend was add drywall to the sides and spackle over the screws. Here's the current status of the wall!
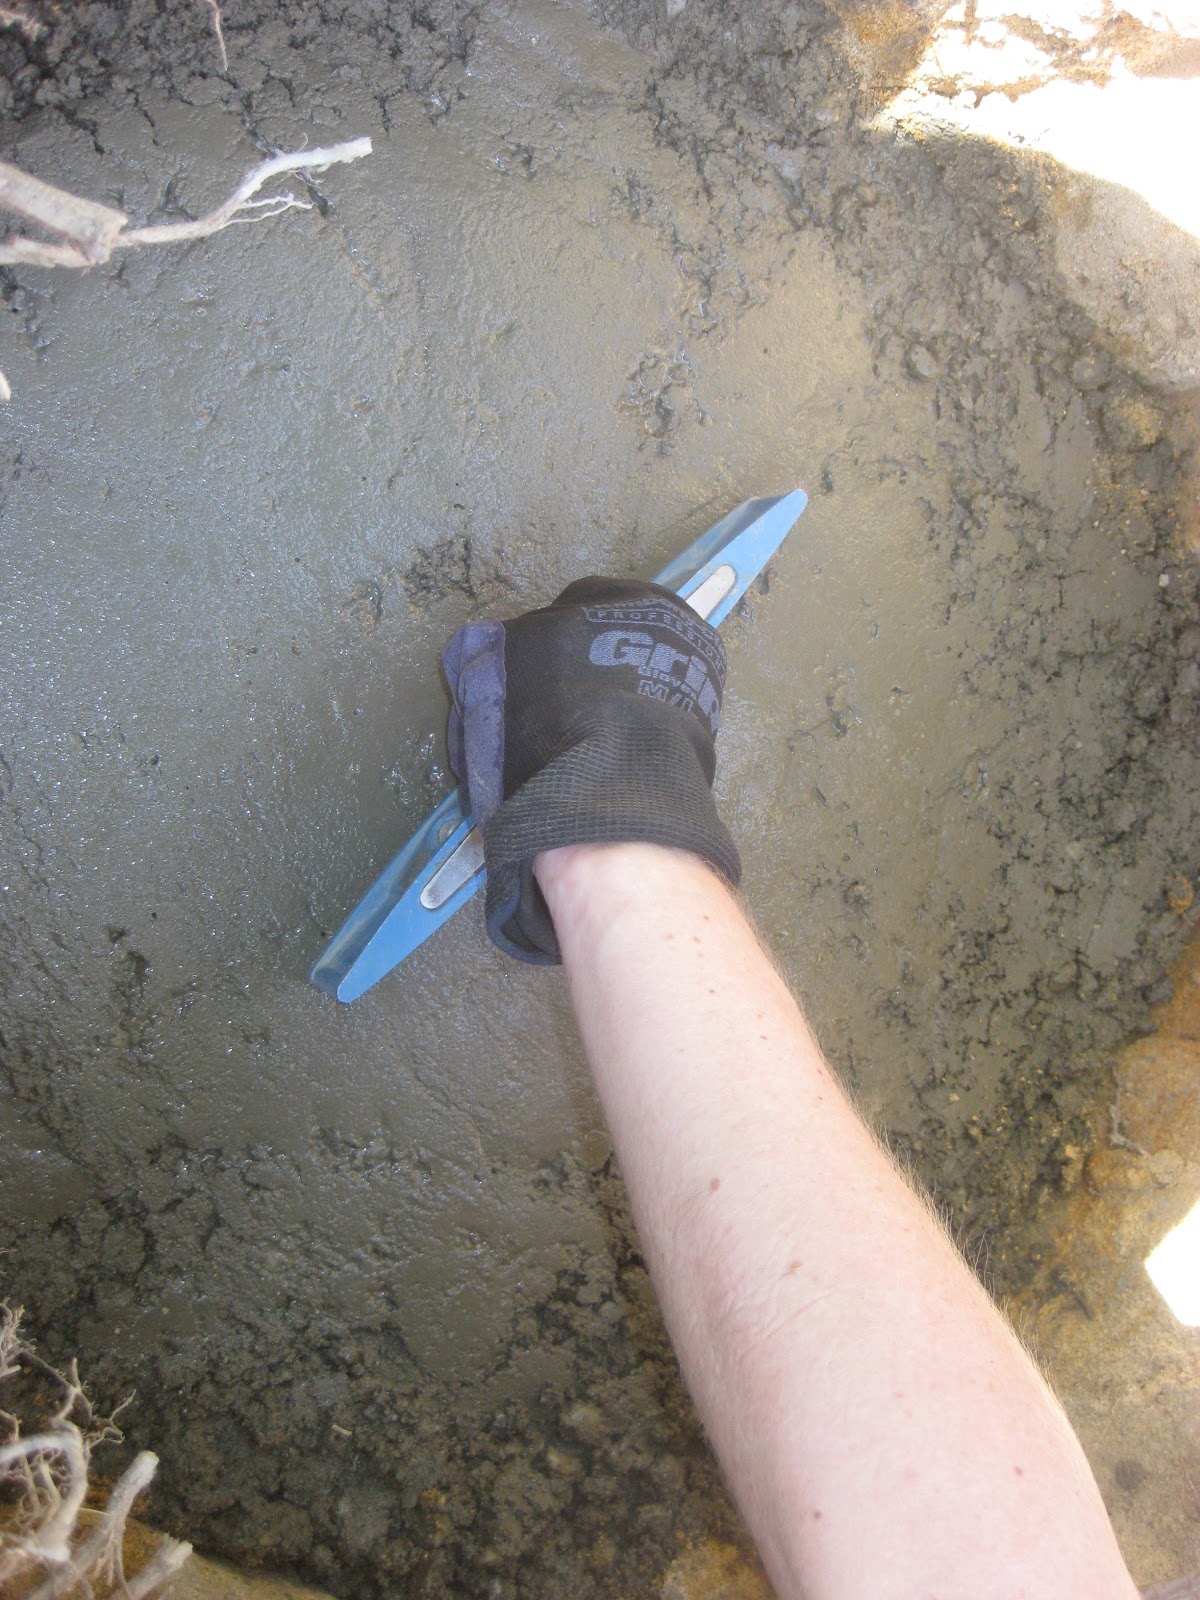
Wednesday, April 28, 2010

Stretch before gardening

I pulled my back gardening a couple of weekends ago. I'm in my 20s so that really shouldn't happen, but it's taught me the lesson to stretch my back regularly... especially before doing yard work. In my defense, I had been working on my core at the gym, which probably tightened my back too much in the previous weeks. You'd think the bags of mulch I hauled would have caused me to hurt my back, but instead it was pulling on a tree root.
Luckily my regular gardening helper and a couple of other friends were able to help me plant the shade garden and the rest of the plants that my mom got me. Due to the tree roots, I was unable to plant the hydrangea bushes where I wanted to, so they're currently growing in pots. Not ideal, but I'll find a good spot for them eventually.

Once things start to bloom, I'll post more pictures. I just wanted to pass along my advice before it was too late for you :)

Sunday, March 28, 2010

A Tilling Weekend

The snow is gone and spring has arrived! The weather was beautiful this past weekend so my parents and I spent most of their visit working on my yard. The yard, like the rest of the property, has been neglected and was full of crab grass. The ground was so uneven that my push mower was very difficult to use. My yard isn't very large so I decided it would be best to reseed the whole yard. My boss lent me his tiller attachment to loosen up the soil. Now, don't let "attachment" fool you into thinking this is some light, easy to use machine. A normal tiller has wheels to push along the ground, but the attachment to a weed-eater motor means no wheels. You have to hold it the whole time, pull the trigger, and push it into the ground deep enough to get under the grass. My arms (forearms especially) were sore the next day (I'm making my way to madonna arms afterall). It's heavier than it looks, but it did the job:


My tips for tilling:
Be patient and take your time. I wanted to get the tilling done so instead of wearing my arms out too much, I rested some of the weight of the machine on my hip... it bruised.

Having help is also a great option. (Big Thanks to my dad who did a lot of the tilling).

If the yard is a decent size then rent a larger tiller.

There are a couple of spots that were really thick with crab grass and a larger tiller would have been helpful for that. So if the whole yard is really overgrown (even a small yard), rent the larger tiller.